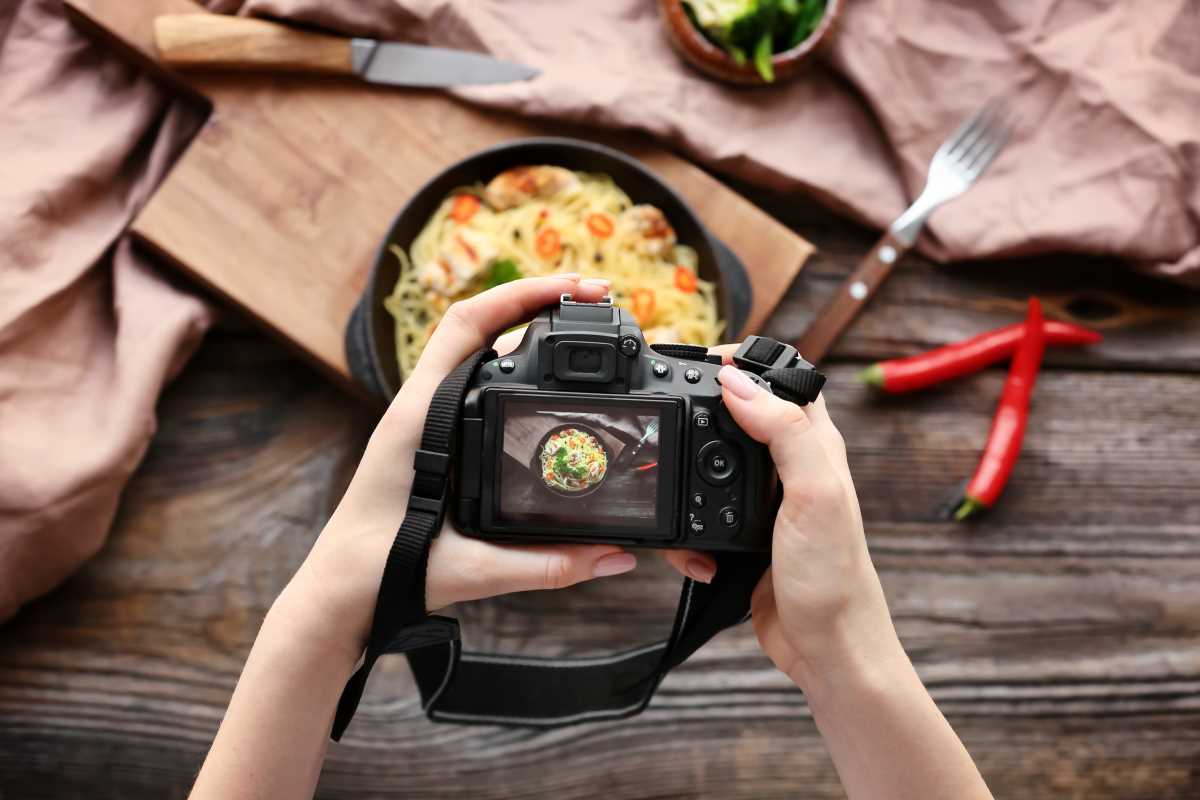
Close-up photography brings out fascinating details in everyday objects, revealing beauty that often goes unnoticed. A water droplet resting on a petal or the intricate veins of a leaf can become extraordinary subjects when viewed up close. With macro photography, you have the chance to uncover patterns and textures that transform the ordinary into something remarkable. By adjusting your lighting or changing the angle of your camera, you can create entirely new perspectives and highlight features that usually escape the naked eye. If you want to see the world in a fresh way, experimenting with these techniques will open your eyes to hidden wonders and inspire your next creative project.
Idea 1: Explore Textures and Patterns
Step into a world of repeating shapes and unexpected surfaces. You’ll discover incredible geometry in leaves, fabric weaves, or even peeling paint. Focus on capturing the fine details that blend into a mosaic when you zoom out.
Follow these steps to set up your shot and get crisp results.
- Choose your subject: Look for objects with distinct surface features, such as tree bark or the end of a sponge.
- Mount your camera or smartphone: Use a tripod or a stable surface to avoid blur; even a small movement can ruin sharp macro shots.
- Adjust focus manually: Switch to manual focus if possible, then move the lens slowly until the pattern fills the frame.
- Set a narrow aperture: Try around f/8 to f/16 to keep more of the pattern sharp. If light is low, increase the ISO instead of widening the aperture.
- Snap multiple shots: Slight changes in angle reveal different facets of texture. Review each shot on your screen to check for sharpness.
Idea 2: Play with Reflections and Transparent Surfaces
Shiny and see-through objects open new creative doors. Reflection can double your subject or add symmetry, while transparency reveals hidden layers. Combine the two to produce dreamy, abstract photographs.
- Use a macro lens or extension tubes: A dedicated macro lens delivers crisp close-ups; extension tubes on a standard lens work well too.
- Place clear glass or acrylic sheets between your subject and light: These create unique patterns.
- Use reflective platforms: Try mirrors, metal trays, or glossy tiles to bounce light and produce duplicate images.
- Employ a light diffuser: A simple white cloth or purpose-built diffuser softens harsh reflections and spreads light evenly.
- Activate a remote shutter release: Prevent camera shake so you keep reflections sharp and clear.
Idea 3: Capture Tiny Creatures in Their Habitat
From ants marching across a twig to lacewing eggs under a leaf, small critters provide endless storytelling opportunities. The key is patience and a careful approach so you don’t spook your subject.
Get close without disturbing wildlife. Start by scouting a location where insects gather—flowers, decaying wood, or damp soil. Approach slowly and avoid sudden movements.
Use a shallow depth of field (around f/4 to f/5.6) to isolate the creature from its background. That way, an ant on a blade of grass stands out crisply against a soft blur.
Fill the frame while leaving enough negative space so the tiny subject doesn’t feel cramped. Natural light works best, but you can add a small LED ring light for subtle fill without harsh shadows.
Idea 4: Illuminate Details with Creative Lighting
Lighting transforms a simple close-up into a dramatic scene. Backlighting reveals veins in a leaf or veins in a flower petal. Side lighting adds texture and depth, casting tiny shadows that dramatize details.
Mix continuous light from a desk lamp with a quick burst from a speedlight. Aim the lamp from below and trigger the flash from the side. This approach highlights both translucence and surface texture.
Colored gels on lights can produce surreal effects. Place a blue gel on one light and orange on another to create a vibrant contrast. Experiment with different distances and angles until you find an intense, painterly look.
Use reflectors made of white foam core or even aluminum foil to bounce light into shadowy spots. A small reflector placed opposite your main light keeps details crisp without flattening the image.
Idea 5: Turn Everyday Objects into Abstract Art
You don’t need rare subjects to make striking macro photographs. Household items like soap bubbles, cooking spices, or kitchen utensils can look otherworldly when magnified.
Fill a shallow dish with water and add a drop of dish soap. Blow bubbles using a straw and photograph them against a dark background. The swirling colors on the soap become intricate planets in your frame.
Alternatively, spread colorful spices—turmeric, paprika, matcha powder—on a piece of glass. Light from beneath turns the powder into glowing landscapes. A narrow depth of field makes ridges and valleys stand out.
Shine a small LED through cut-up plastic packaging to create prism effects. These DIY prisms break light into rainbow streaks inside your frame, producing abstract compositions that resemble high-end lab work.
Explore macro photography by experimenting with your gear and techniques to discover hidden beauty in your surroundings. Share your close-ups online to inspire others.